Last Friday, I hosted the inaugural chocolate tasting event at my place in St. Kilda. The purpose of these henceforth weekly gatherings is to experiment with and enjoy chocolate of all kinds. All the recipes from the first night came from the same book, Australian Gourmet Traveller's
Chocolate (which I previously covered in
Published Chocolate). In the end, the three-course chocolate meal was a success and the guests were very complimentary (though critiques would have been welcomed too).
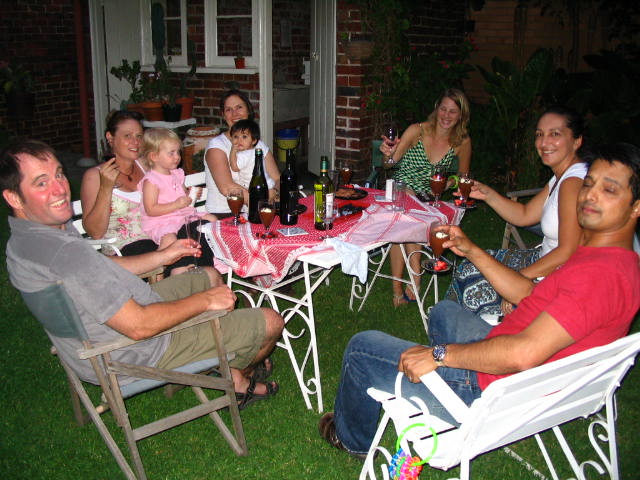
Dramatis Personae:Emily Stone, me
Chris, my boyfriend and unwitting official photographer
Cassie and Peter, Chris's sister and brother-in-law
Angela, Chris's sister-in-law
Fabian and Lea, friends
Charlotte and Max, children of the guests
Recipes:
Chocolate and honey matchsticks500g dark couveture chocolate, coarsely chopped
150ml pouring cream
50g honey
2 thinly peeled strips of lemon rind
Dutch-process cocoa, for dusting
Process 300g chocolate in a food processor until finely chopped.
Combine cream, honey and lemon rind in a small saucepan and bring to a boil, then discard lemon rind. Pour hot cream mixture onto chocolate in food processor and process until chocolate is melted and mixture is thick. Transfer mixture to a bowl and stand at room temperature for 30 minutes or until thick enough to pipe. Spoon mixture into piping bag fitted with a 7mm plain nozzle. Line 3 trays with baking paper, then, using a pencil, mark fourteen 28cm lines 3cm apart on the paper. Pipe chocolate in lines using pencil markings as a guide, then refrigerate for 1 hour.
Working with 1 tray at a time, slide a knife under chocolate strips to loosen them, then cut each strip into 4 and place in a large container, taking care not to stack matchsticks more than 3 deep. Cover and refrigerate overnight.
Melt remaining chocolate in a heatproof bowl over a saucepan of simmering water, then remove bowl from saucepan. Wearing latex gloves, coat your palm with a little chocolate and gently roll each matchstick in chocolate, then carefully place on a baking paper-lined tray and stand until set.
Dust chocolate matchsticks with cocoa. Matchsticks will keep, refrigerated, in an airtight container for up to 1 month.
Makes about 170
Chocolate and orange-liqueur mousse
250g dark couveture chocolate, finely chopped
100g unsalted butter, finely chopped
60ml Cointreau or other orange-flavored liqueur
1 teaspoon vanilla extract
8 egg yolks, at room temperature
100g caster sugar
5 egg whites
Double cream and chocolate shavings, to serve
Combine chocolate and butter in a heatproof bowl over a saucepan of simmering water and stir until smooth and glossy. Remove from heat and whisk in liqueur and vanilla.
Using an electric mixer, whisk egg yolks and sugar until thick and pale, then gradually pour in chocolate mixture and whisk until well combined.
In another bowl, whisk egg whites with an electric mixer until stiff peaks form. Gently fold half the egg whites into chocolate mixture until just incorporated, then repeat with remaining mixture. Spoon into eight 1-cup-capacity dishes, cover and refrigerate for 6 hours or overnight until set.
Serve chocolate mousse topped with double cream and chocolate shavings. Chocolate mousse will keep, covered, in the refrigerator for up to 3 days.
Serves 8Baci di damaIngredients can be halved to make fewer biscuits.
250g soft unsalted butter
110g (2/3 cup) icing sugar, sifted
1 1/2 teaspoons vanilla extract
250g (1 2/3 cups) plain flour
50g (1/2 cup) cocoa
105g (3/4 cup) hazelnuts, roasted, peeled and finely ground
Filling
125g dark chocolate, chopped
30g unsalted butter
75g hazelnuts, roasted, peeled and finely ground
Using an electric mixer, beat butter and icing sugar until light and fluffy, then add vanilla. Sift together flour and cocoa and stir into butter mixture with ground hazelnuts until mixture is well combined. Take heaped tablespoons of mixture and, using your hands, roll into balls, then place on baking paper-lined oven trays and flatten slightly with your fingers. Refrigerate biscuits for 2 hours or overnight, then bake at 180C for 15 minutes or until firm to the touch. Cool on trays for 5 minutes, then carefully transfer to wire racks to cool completely.
For filling, melt chocolate and butter in a small heatproof bowl over a saucepan of simmering water, then remove from heat, add ground hazelnuts and stir to combine well. Spread a little filling onto half of the cooled biscuits, then top with remaining biscuits. Leave in a cool place for filling to set.Filled biscuits will keep in an airtight container for up to 1 week, or in the freezer for up to 3 months.Makes about 60
Active Ingredient:I tracked down couveture chocolate at Melbourne's luxury-food-goods store
The Essential Ingredient. They first tried to sell me on Callebaut, which seems to be the most readily-available brand here, but I do not like Callebaut! (It's too sweet and doesn't have enough cacao content.) After some additional probing, I found a 70%-cacao product that's wonderfully complex in flavor from
Kennedy & Wilson, a local Victoria purveyor. I've since discovered that the chocolate is only AUS$23 (US$17) per kilo if you buy direct in bulk, but even the AUS$30 (US$22) I paid for a one-kilo bag at the Essential Ingredient is a bargain compared to my American favorite,
Scharffen Berger, whose three-kilo slab for home-bakers is now going for eighty-five US dollars.
The Scene:
In general, I followed the directions in the cookbook exactly. This should mean that anyone following the same recipes should get the same results. However, please keep in mind that there are far too many variables (including my baking skills) to make this a scientifically-valid experiment.
The chocolate and honey "matchsticks" came out more as blobs--luckily the simplicity and richness of the flavor made up for any irregularies in appearance. I was right in assuming that skipping the food processor and just stirring hand-chopped chocolate together with the hot mixture would work fine, but another shortcut later on caused problems. The recipe instructs you to use a piping bag, but I overestimated my pastry-making skills when I decided that I did not need that extra piece of equipment. My first attempt at crafting a homemade piping bag from baking paper looked like an elongated flute and predictably did not work. On my second try, I made a wider, cone-shaped thing which stayed together with staples and tape. However, I cut too much off the tip resulting in large, unmanageable lines of chocolate coming out, instead of thin, elegant stripes. By that point, I had already wasted enough chocolate and time, so I decided to use what I had instead of starting over. I also skipped the second coating in chocolate which seemed unnecessary and too difficult considering the heat of the day (it's still summer in Australia), and I used un-Dutched cocoa instead of the Dutch-process cocoa specified (cocoa is "Dutched" or treated with a chemical that makes it easier to dissolve in liquid--that's a real benefit to hot-cocoa drinks, but I don't think it made much of a difference here). This recipe is probably best for people with advanced handiwork skills (or people ready for a lot of trial and error). An alternative is to simply roll the cooled ganache (chocolate, honey, and cream mixture) into balls and coat them with melted chocolate (if desired) and then the cocoa. This will result in nothing other than a basic truffle. In terms of ingredients, this is a truly simple item--as long as you use high-quality chocolate, the form and appearance will fall away in people's minds behind the taste.
The mousse was the centerpiece of the evening, and it was the component that I had the most experience in making. Chocolate mousse was the first dessert I made regularly after I discovered that I liked to play with food in high school. The original recipe that I used was from
The Silver Palate Cookbook and was very similar to this one, except (if I remember correctly) for the addition of some whipped cream along with the stiffened egg whites. While I don't agree with one of my uncles that chocolate mousse can simply be made by adding melted chocolate chips to whipped cream, I do think that a certain amount of cream does improve the texture of this dessert. I would recommend experimenting with adding a bit of whipped cream to this mousse or finding a recipe that incorporates the ingredient.
The final act for the night was the platter of baci de dama, hazelnut-cocoa cookies filled with a hazelnut-chocolate ganache. My overenthusiasm resulted in cookies that were larger than the ones in the book, but they still looked and tasted quite nice. The instructions were very easy to follow except when it came to the oven time: my cookies were not yet firm after 25 minutes but the edges were beginning to burn, leaving me at a loss for what to do (I decided to take them out anyway). While more experienced bakers might get different results, I found these "lady's kisses" to be unremarkable. Still, coupled with our brand-new red serving platter, they made a lovely finishing point for the evening.

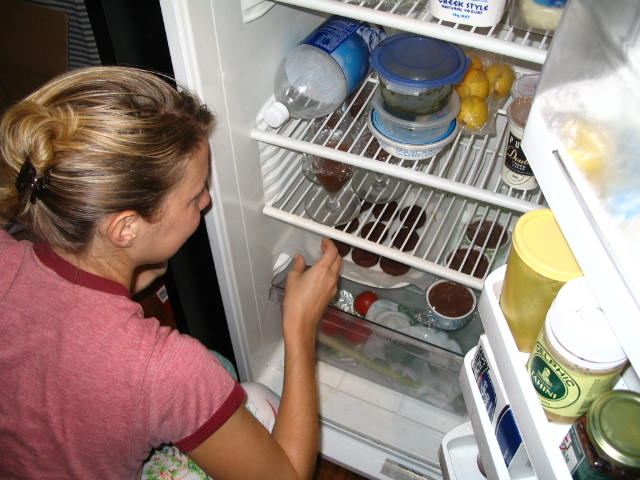
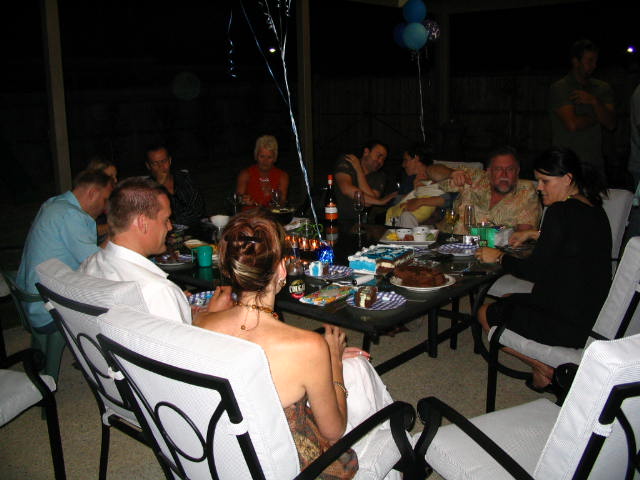
As with any dinner party, the success of this chocolate tasting was largely based on preparation. Everything was ready in advance of the guests' arrival, including the chocolate shavings and cut berries that would accompany the mousse. That allowed Chris and I to pay full attention to our guests instead of the food. Our local wine purveyor recommended a full-bodied red to accompany the chocolate matchstick-blobs that I served when guests arrived, and the sweetness of a lovely riesling that Fabian brought also accented the chocolate flavor. Shots of Cointreau served in liqueur glasses brought a strong finish to the evening.
Epilogue:Flipping through the exquisite photos on each page of the cookbook, I came upon wonderful ideas, like using pinenuts instead of the more-typical walnuts to create a Catalan-style cake and packing macaroons in rustic metal boxes. When preparing the three dishes for Friday's chocolate tasting, I found that the recipes themselves are the weak point of the book: the very simple ones are unnecessary since they've already been published in so many other places, and the more complex ones don't come with precise-enough instructions. Still, I applaud the book's flawless presentation. Australian Gourmet Traveller's
Chocolate is a beautiful book to use as inspiration.


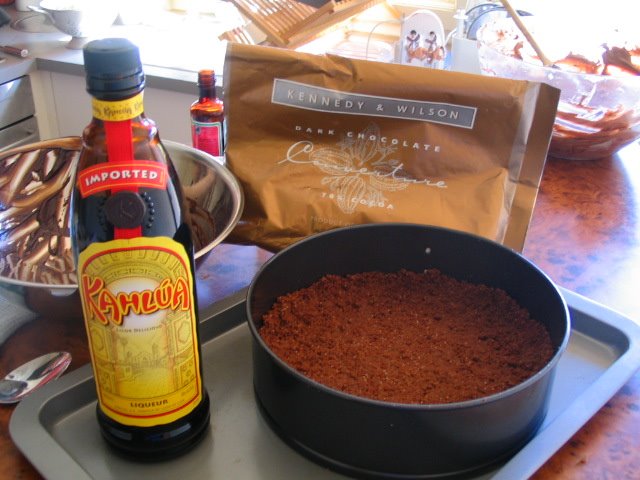 As always, use a good quality couverture chocolate; anything with at least 60% cacao and without unnecessary additives fits the bill. Philadelphia cream cheese is one of those distinctive branded products (like Heinz ketchup) whose familiar tastes seem to work particularly well in recipes--I recommend using it. Mysteriously, teddy-bear-shaped chocolate cookies seem to work best in the crust (in the States I think they're called Teddy Grahams, here they're Tiny Teddies), as long as you don't mind a bit of edible-stuffed-animal carnage. The Kahlua, though it gives its name to the cake, really only serves as a minor flavoring; a lower-priced coffee liqueur could be easily substituted, as could espresso to make an alcohol-free cake.